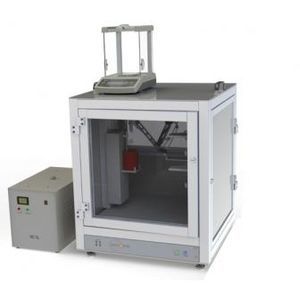
Bottle inspection system
Add to favorites
Compare this product
Characteristics
- Applications
- bottle
Description
The Bottle Inspector is the latest in Image analysis technology for complete bottle inspection. The system is capable to measure all critical to quality parameters in the production of bottles. Both cap and bottle body geometrical details. The housing is build around strong aluminium frames and can withstand demanding industrial environments
Systtem measures the following parameters:
From the neck:
1) Length
2) Width
3) Depth
4) Circumference
5) Cap : length, width, depth and circumference
6)The winding details where cap is fixed.
Finish (A, T, E, F, D, S, H, L, K, B, Tilt)
Lean
Body Diameters and Width
Height
Pushup/ Base clearance
Inside diameter
Weight
3D Scanner Incorporated
Microptik has developed a 3D scanner for the bottle industry to scan so called Caps and Shoulders. These parts are essential for equipment manufactures producing systems for seamless plastic tube packaging. High end 3D scanners provide 3D data which can be exported to popular CAD software for further re-engineering. Our systems copy the parts and produces CAD data.
Analyzer System
The analyzer system which holds all the analyzer equipment is assembled in a rugged industrial box. The frame of the box is made out of strong aluminum profiles rendering the system shock proof and very suitable to function in a demanding industrial environment. The operator can open the front door of the analyzer and subsequently place the bottle in the analyzer system. Upon closing the door, the analyzer is activated by a simple press of a button.
Neck Finish Inner Crack Inspection
Neck Finish Inspection (surface of neck finish)
Neck Finish Internal Crack Inspection (cracks in glass below surface)
Catalogs
No catalogs are available for this product.
See all of Microptik BV‘s catalogs*Prices are pre-tax. They exclude delivery charges and customs duties and do not include additional charges for installation or activation options. Prices are indicative only and may vary by country, with changes to the cost of raw materials and exchange rates.


