
- Products
- Catalogs
- News & Trends
- Exhibitions
Ultrasound imaging simulation module for endoscopic retrograde cholangiopancreatographyanatomyweb-based

Add to favorites
Compare this product
Characteristics
- Procedure
- for ultrasound imaging, for endoscopic retrograde cholangiopancreatography
- Application
- anatomy
- Technology
- web-based
Description
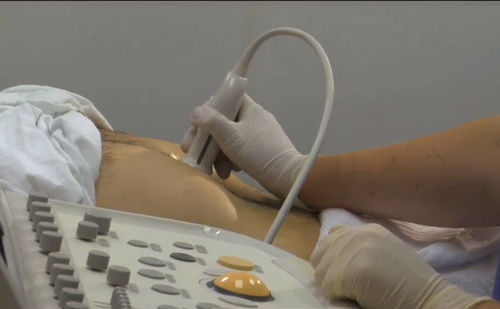
This module teaches you how to prepare for and perform an ultrasound examination of the pancreas. The interactive simulator provides three different scan scenarios, including normal and pathological cases. It enables students and practitioners to build or refresh knowledge and cognitive skills, and offers a safe online practice environment so you can prepare for the real clinical world. Ideal if you are studying for the American Registry for Diagnostic Medical Sonography (ARDMS) registry exams.
Introduction
Step 0.1 - Basic physiology of the pancreas
Step 0.2 - Signs and symptoms of pancreatic disease
Step 1 - Preparation
Step 1.1 - Equipment preparation
Step 1.2 - Patient preparation
Step 1.3 - Operator preparation
Step 2 - Expose the abdomen and apply gel
Step 3 - Select the transducer and obtain images of the pancreas
Step 4 - Commence the pancreas system scanning protocol
Step 4.1 - Patient position
Step 4.2 - Scan Plane
Step 4.3 - Standard pancreas protocol image requirements
Step 4.4 - Annotations required
Step 4.5 - Sonographic features of a normal pancreas
Step 4.6 - Trouble shooting
Step 5 - Scan the pancreas in the transverse and longitudinal planes
Step 5.1 - Scan the head, neck, body, and tail of the pancreas in the transverse plane
Step 5.2 - Scan the head, neck, body, and tail of the pancreas in the longitudinal plane
Step 5.3 - Pathology of the parenchyma of the pancreas
Step 6 - Assess and measure the pancreatic duct
Step 6.1 - Measure the pancreatic duct in its long axis
Step 7 - Complete the procedure
VIDEO
Related Searches
*Prices are pre-tax. They exclude delivery charges and customs duties and do not include additional charges for installation or activation options. Prices are indicative only and may vary by country, with changes to the cost of raw materials and exchange rates.


