- Medical & Pharmaceutical industry
- Medical industry
- X-ray inspection system
- Waygate Technologies
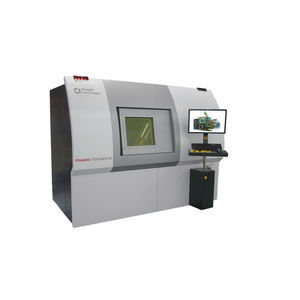
X-ray inspection system Phoenix Nanotom® Mautomatedmedical

Add to favorites
Compare this product
Characteristics
- Type
- X-ray
- Operational mode
- automated
- Applications
- medical
Description
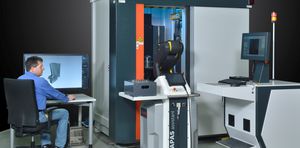
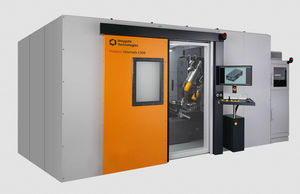
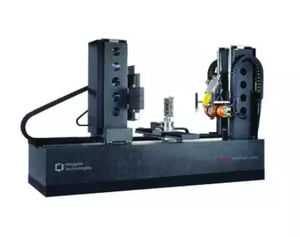
The Phoenix Nanotom® M is a nanofocus X-ray CT system for scientific and industrial computed tomography (microCT and nanoCT®) and 3D metrology. The system realizes a unique spatial and contrast resolution on a wide sample and application range. Fully automated execution of CT scan, reconstruction and analysis process ensures its ease of use and fast, reliable CT results. Precise and reproducible 3D measurements of complex objects and the automatic generation of first article inspection reports within an hour are possible.
High spatial and contrast 3D CT resolution starts here
High-resolution computed tomography (CT) has become a powerful inspection tool for a wide range of industrial and scientific inspection and metrology applications such as non-destructive structure and failure analysis as well as for quality assurance or production control.
With its 180 kV/20 W ultra-high performance nanofocus X-ray tube, precision mechanics and advanced software modules, the Phoenix Nanotom® M is the inspection solution for a wide range of 3D CT applications. Once scanned, the fully three-dimensional CT information allows many possibilities for analysis, e.g. non-destructive visualization of slices, arbitrary sectional views, or automatic pore analysis.
Benefits
Your Advantages:
Unique spatial and contrast resolution on a wide sample range – from small material to medium sized plastic samples
Also for electronics assemblies up to 240 mm in diameter, 250 mm hight and 3 kg (6.6lbs) in weight
VIDEO
Catalogs
Phoenix Nanotom M
8 Pages
Other Waygate Technologies products
Radiographic Testing and Industrial CT Solutions
*Prices are pre-tax. They exclude delivery charges and customs duties and do not include additional charges for installation or activation options. Prices are indicative only and may vary by country, with changes to the cost of raw materials and exchange rates.


